Auction Inspection: How to Check a Car Before You Bid
Use a 10-minute auction inspection: spend about 3 minutes on the report, about 5 on the car, and about 2 setting a hard bid cap from repair cost plus a common 10 to 15 percent risk buffer. Skip that process and you can overbid on hidden damage, title issues, warning lights, or drivetrain noise that erase any margin. This guide separates report review from hands-on checks and ends with a bid limit, caution bid, or walk-away call.
Start with the auction paperwork
How to read the auction inspection report
An auction inspection report should answer one question fast: how much uncertainty is left before you bid. It usually lists a condition summary, mileage, damage notes, and mechanical observations. That makes it an inspection snapshot of current condition, not a maintenance record.
Use the report as your first filter. If it mentions warning lights, fluid leaks, smoke, rough running, or transmission concerns, price those as live risks instead of assuming they will disappear once you see the car.
Keep one distinction clear. An auction inspection report is not the same as a service-history check. A service-history file may show oil changes or prior repairs. The auction report is about visible condition and basic operating notes on that lot.
Some report codes change the deal right away. E3 indicates a significant mechanical problem. RA grade signals a repaired-after-airbag-deployment vehicle. Those are not cosmetic notes. They affect repair scope, resale, and how much downside belongs in the bid cap.
How to read the auction inspection sheet
The auction inspection sheet is usually more lot-specific. Expect condition notes, a damage diagram, inspector comments, and grade or condition codes.
Read the diagram panel by panel. Damage diagrams can show repaint notation such as W3 across panels. Some sheet problems are flagged with XX for replaced structural panels. If the sheet shows repaint on one side and replaced structural panels nearby, inspect for a partial repair instead of isolated cosmetic work.
Look for consistency. If the sheet calls out left-front damage, the car should show damage in that area, repair evidence, or replacement parts that make sense. If the note is vague, your confidence should drop.
What report gaps should lower your confidence
Missing detail is not harmless. Thin notes, incomplete diagrams, or condition codes without explanation raise pricing risk because you still own the surprise after the sale.
Mileage doubt stars are described as the #1 red flag. If mileage, wear, and cabin condition do not line up, treat that as a bigger issue than a scratched bumper. The same goes for title-history conflict, missing damage notes on obvious repairs, or a mechanical field left blank on a car with warning lights on.
Auction buyers are told that inspections are the buyer’s responsibility. That means an incomplete sheet should push the bid down, trigger a third-party inspection, or end the deal.
What should you check before you even reach the car?
Before stepping into the lane, confirm three things: the VIN, the title and loss history, and the auction status terms. A VIN check before bidding can reveal salvage branding, total-loss records, prior accident severity, and odometer problems, but it still has to be matched against the in-person walkaround because a history report cannot show current repair quality.
Run the VIN check first
Pull the full 17-character VIN from the listing and match it to the VIN plate at the base of the windshield, the driver-door certification label, and any other visible VIN points the yard allows. The quick auction checklist recommends a VIN check before bidding, and it is most useful before you spend any yard time.
Focus on four outputs: title brand, recorded loss type, odometer status, and prior accident severity. A clean title history does not clear the car. A salvage or total-loss history does not always kill the deal either, but it must match what the body and structure show in person.
Confirm title, odometer, and loss history
Title brand should match the risk you are pricing. If the history suggests flood, theft recovery, salvage, or rebuilt status, inspect the car more closely in those areas. Odometer concerns matter because heavy wear on low stated miles often points to rollbacks, cluster swaps, or a history mismatch.
Suppose a sedan shows modest exterior wear but the pedals are polished smooth, the steering wheel is shiny, and the driver’s seat bolster is crushed. That does not prove odometer fraud by itself, but it should stop any bid based on the listed mileage alone.
Decode status terms like run and drive
Run and drive is often misunderstood. It only means the vehicle can start and move under its own power. It does not guarantee the transmission shifts properly, the brakes work under load, or the engine stays cool after more than a short move. (Wikihow)
Do not bid as if run and drive means roadworthy. If the report also notes harsh shifting, smoke, fluid loss, or warning lights, believe those limits. A car can start, idle, and creep forward while still carrying major drivetrain risk.
What tools should you bring to an auction inspection?
Bring a pocket-size kit: a slim flashlight, your phone, a pencil-style tire tread gauge, one nitrile glove or a folded paper towel, and an OBD scanner only if the auction allows it. Those tools cover the checks most likely to move your bid without slowing the inspection or creating yard hassle.
The five tools that fit in one pocket
- Flashlight: for wheel wells, rocker seams, trunk corners, underhood leaks, and underbody rust.
- Phone camera: for close photos of codes, damage diagrams, warning lights, and VIN plates.
- Tire tread gauge: to confirm whether wear is even or one edge is disappearing.
- Paper towels or gloves: to check fluid color, moisture, sludge, and residue without spreading grime.
- OBD scanner: useful only when permitted and when the car powers up.
When an OBD scanner is useful and when it is not
An OBD scanner can confirm stored codes, readiness gaps, or recently cleared monitors, but it cannot replace a physical inspection. It will not show bent rails, hidden flood residue, poor repairs, or every transmission issue.
If the scanner is blocked by auction rules, a low battery, or no key access, move on. Do not burn yard minutes trying to force one more data point while skipping body, flood, or structural checks that matter more.
How to document damage fast with your phone
Take photos in the same order every time: front corners, sides, rear corners, dash warning lights, VIN, tires, and any leak or underbody clue. That turns the photo set into a bidding worksheet later.
A common first-timer mistake is photographing only the obvious dent. The better move is to capture the dent, the panel gap next to it, the tire below it, and the warning lights inside. One side impact can reach suspension, airbag, and alignment cost.
How do you inspect a car at auction in a few minutes?
A common five-minute triage order is: front, sides, rear, tires, glass and lights, interior, underhood, then one underside scan. Start with the checks most likely to trigger a walk-away, because live auctions punish hesitation and wasted motion far more than skipping a minor cosmetic flaw.
A five-minute triage order for live bidding pressure
- Verify the VIN on the car matches the listing.
- Stand back and check stance, ride height, and panel alignment.
- Walk the front and sides for paint mismatch, overspray, and bumper fit.
- Check tires and wheels for uneven wear, sidewall damage, and bends.
- Check glass, lamps, and mounts.
- Open the cabin and scan warning lights, odor, carpets, seatbelts, and switches.
- Open the hood for fluid condition, leaks, smoke residue, and obvious repair signs.
- Use the flashlight under the front and rear edges for leaks, kinks, or fresh undercoat.
What to inspect first when time is tight
If only two or three minutes are available, start with title-risk clues and structural clues, then move to flood clues and major mechanical clues. Cosmetic flaws can wait. Bent structure, water intrusion, and drivetrain symptoms erase margin fastest.
The quick checklist points buyers to mismatched paint, frame damage, fluid leaks, and uneven tire wear. That is the right order because each can point to a larger hidden bill behind a small visible symptom.
When to stop inspecting and move
Stop when a walk-away trigger appears and another check cannot reasonably reverse it. Strong flood evidence, title-history conflict, obvious structural movement, severe drivetrain symptoms, or too many unknowns are enough.
Picture a crossover with fresh undercoat on one rail, a twisted bumper support, two warning lights, and damp carpet under clean floor mats. More inspection may add detail, but the decision is already moving toward no-bid unless the car is being bought strictly for parts or a fully priced rebuild.
Check the body, glass, tires, and underside clues
Panel gaps, paint mismatch, and partial repair signs
Look at panel gaps before you look at scratches. Wide-to-tight changes between fender, hood, door, and bumper often point to a prior impact or poor reassembly. Then check color match in daylight, especially on metallic paint, plastic bumpers, and the tops of adjacent panels.
Partial repair signs include dry spray on weatherstrips, overspray on fasteners, sand marks near edges, missing factory labels, and bumper mounts that do not sit square. If the sheet shows W3 repaint notation, the visual finish should support that note. If it shows repaint but the seams, bolts, or brackets also look disturbed, expand the repair scope in the bid.
Tire and wheel wear that points to impact or suspension issues
Auction buyers are told to inspect fluids, tires, and lights before driving. Tire inflation and visible damage also matter before bidding because they can expose alignment or suspension trouble even without a road test.
Check for one-edge wear, feathering, sidewall bubbles, cords, or a newer single tire paired with body damage on the same corner. Bent wheels, curb rash isolated to the damaged side, or a steering wheel sitting off-center at rest can all support a prior hit.
The guide also recommends checking that lights work correctly. Broken tabs, moisture inside the lamp, or a new lamp on one side only can signal more than a lighting bill.
Underbody clues you can spot without a lift
Use the flashlight from the front and rear corners, then kneel if the yard allows it. Look for fluid drips, crushed pinch welds, bent brackets, scraped crossmembers, split splash shields, and fresh undercoating over suspicious areas.
Fresh black coating is not automatically bad. It becomes a structural clue when it covers welds, kinks, or seams that differ left to right. Check whether underbody condition matches the rest of the car. A clean rail under an otherwise dirty chassis deserves another look.
How do you spot frame damage and flood damage?
Frame damage and flood damage need different checks, but both belong near the top of the yard routine because each can hide under decent paint and a running engine. Look for asymmetry, disturbed seams, and welds for structure. Look for silt, moisture, corrosion, odor, and electronic faults for water intrusion.
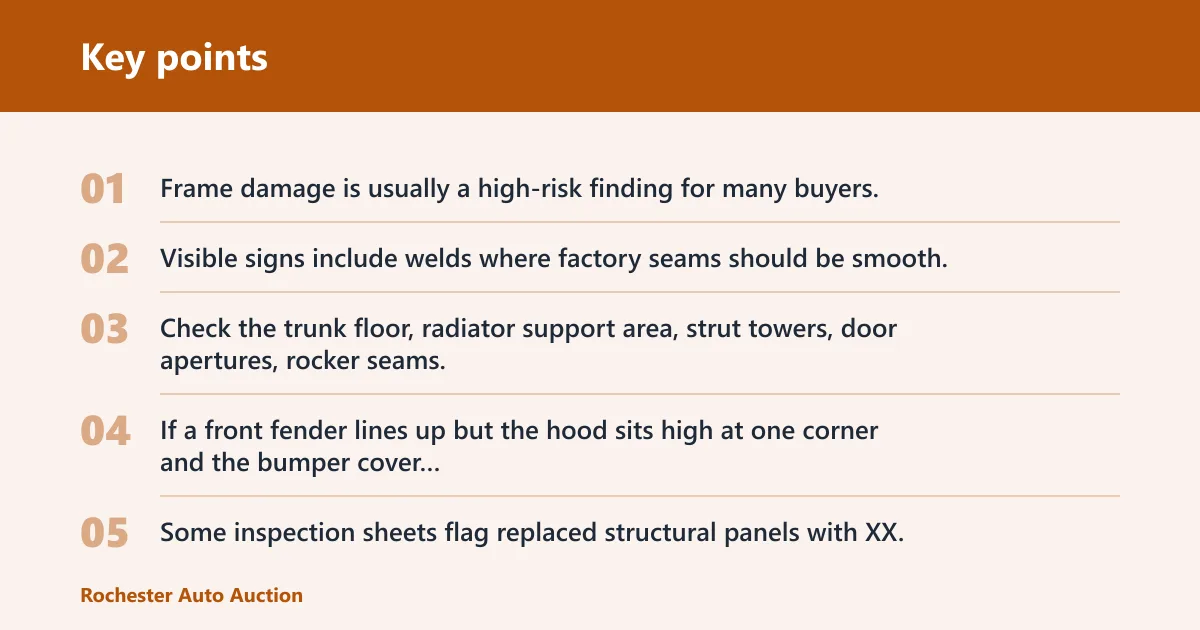
Frame damage signs: welds, bends, seams, and alignment clues
Frame damage is usually a high-risk finding for many buyers. Visible signs include welds where factory seams should be smooth, bends or kinks in rails or aprons, fresh seam sealer, mismatched left-right dimensions, and panels that refuse to align cleanly.
Check the trunk floor, radiator support area, strut towers, door apertures, rocker seams, and rear body panel transitions. If a front fender lines up but the hood sits high at one corner and the bumper cover pulls away below it, the issue may run deeper than bolt-on parts.
Some inspection sheets flag replaced structural panels with XX. That should send the flashlight underneath and into adjacent seams right away. Unless repair economics are already verified, structural work belongs in walk-away territory for most retail-minded auction buyers.
Flood damage signs: silt, rust, odor, corrosion, and electronics faults
Flood damage is harder to spot than body damage because the obvious dirt may be gone while corrosion remains. Check hidden areas, not just the visible carpet top.
Lift mats if allowed. Look at seat mounts, spare tire wells, trunk corners, wiring connectors, lower dash brackets, under-seat tracks, and inside fuse-box areas for silt, white or green corrosion, tide marks, or unusual rust on protected metal. A musty odor matters, but odor alone is weak compared with rust inside covered areas.
Electrical clues matter too: multiple unrelated warning lights, dead switchgear, flickering screens, intermittent locks, and blower or window issues after obvious cleaning are all suspicious. If the history also shows flood or storm loss, the bid should reflect the chance of ongoing electrical faults.
Which findings are usually walk-away risks?
Walk-away risks usually include strong structural signs, strong flood evidence, title-history conflict, severe drivetrain symptoms, or a stack of unknowns large enough that repair pricing turns speculative.
Strong examples include bent or kinked rails, clear silt in hidden cavities, a branded flood history paired with electrical faults, smoke with rough idle, or a report that says little while the car shows much more. A cheap hammer price does not fix bad uncertainty.
Check the cabin, warning lights, and mechanical red flags
Interior wear that does not match the stated history
Inside the car, compare wear to the listed mileage and use. Torn bolsters, a shiny wheel, sagging headliner, worn switch legends, and broken seatbelt retractors can all matter. Seatbelts should latch and retract. Carpets should be checked for dampness, staining, or crusty residue.
HVAC, windows, locks, mirrors, infotainment, and backup camera function all affect value. They also help reveal deeper electrical trouble. If several unrelated cabin functions fail at once, think flood, wiring damage, low voltage, or prior repair shortcuts.
What warning lights, leaks, smoke, and noises tell you
Mechanical red flags deserve direct pricing, not optimism. Warning lights can point to emissions faults, airbag issues, ABS problems, or charging trouble. Smoke color matters. So does idle quality.
The checklist says to listen for odd noises if the car can be started. Listen for timing or valvetrain tick, rod knock, belt squeal, exhaust leaks, and harsh accessory bearing noise. Look for fluid leaks under the engine, transmission, and cooling system. Check fluid condition on accessible dipsticks or reservoirs if the auction allows it. Guidance for routine ownership often says to check fluids weekly or monthly before long trips; in the yard, the point is simpler: dark sludge, milky contamination, metallic glitter, or an empty reservoir all lower the bid.
If the engine starts, watch the dash for warning lights that stay on after startup, then listen at idle and on a short throttle blip if permitted. Rough idle, visible vibration, overheating signs, or delayed engagement into gear should be treated as real costs.
What you can verify without a test drive
Without a road test, a buyer can verify visible condition, basic electrical operation, warning lights, many leaks, some noises, and whether the vehicle starts and moves. What you cannot confirm fully includes high-speed vibration, full transmission behavior under load, brake performance in traffic, alignment at speed, and cooling stability over time.
That is why run and drive has limits. A car that creeps across the yard may still slip under acceleration, overheat later, or have brake pulsation that never appears during a few seconds of movement.
Inspection scorecard
The 12 green/yellow/red checkpoints
| Checkpoint | Green | Yellow | Red |
|---|---|---|---|
| 1. VIN match | VIN matches listing and tags | One tag hard to read | Mismatch or altered tag |
| 2. Title and history | History consistent with car | Past loss or thin history | Conflict, salvage surprise, or odometer issue |
| 3. Status terms | Status supports listing expectations | Run and drive only, no other support | Status and condition conflict |
| 4. Exterior alignment | Even gaps and fit | One suspect area | Multiple misaligned panels |
| 5. Paint and repair signs | No obvious mismatch or overspray | Local repaint only | Partial repair, overspray, disturbed fasteners |
| 6. Glass and lights | Glass and lamps intact | Minor crack or moisture | Broken mounts, multiple lamp issues |
| 7. Tires and wheels | Even wear, no damage | Low tread or one odd tire | Uneven wear, sidewall damage, bent wheel |
| 8. Frame clues | No visible structural concern | Needs closer underside review | Welds, bends, kinks, XX-related concern |
| 9. Flood clues | No odor, silt, or hidden corrosion | One suspicious moisture clue | Silt, corrosion, electrical pattern, flood history |
| 10. Interior and electronics | Wear matches mileage, systems respond | Minor switch or trim issue | Multiple dead systems or wear mismatch |
| 11. Warning lights and scan | No active concern seen | Single issue to price | Multiple lights, airbag, ABS, or severe code |
| 12. Engine, leaks, smoke, noises | Starts cleanly, no major symptom | Small leak or mild noise | Smoke, rough idle, severe leak, gearbox concern, E3 note |
How to total the scorecard in under two minutes
Count greens first. Then count reds. The pattern matters more than the raw total.
- Max bid zone: 9 to 12 green, 0 red, and no structural, flood, title, or airbag-history conflict.
- Caution bid zone: 6 to 8 green, 1 to 2 red, or several yellow items with clear repair pricing.
- No-bid zone: 3 or more red, or any single major structural, flood, title, or severe drivetrain red.
Bid adjustment guide
Use the scorecard to change the bid, not just your confidence level. Visible cosmetic damage can often be priced directly. Hidden-risk damage needs a larger discount because the true cost range is wider.
- Green-heavy car: bid from normal market math after fees, transport, repairs, and buffer.
- Yellow-heavy car: reduce the hammer limit for uncertainty on top of listed repairs.
- Red-heavy car: no-bid unless the purchase plan already assumes major repair risk and parts-level pricing.
How do you turn inspection findings into a bid ceiling?
Turn findings into a bid ceiling by backing out every known cost before the auction starts: buyer fees, taxes, title fees, transport, repairs, and a risk buffer. Then cut the bid again for hidden-risk items like flood clues, structural uncertainty, weak paperwork, or mechanical symptoms that cannot be confirmed without a road test.
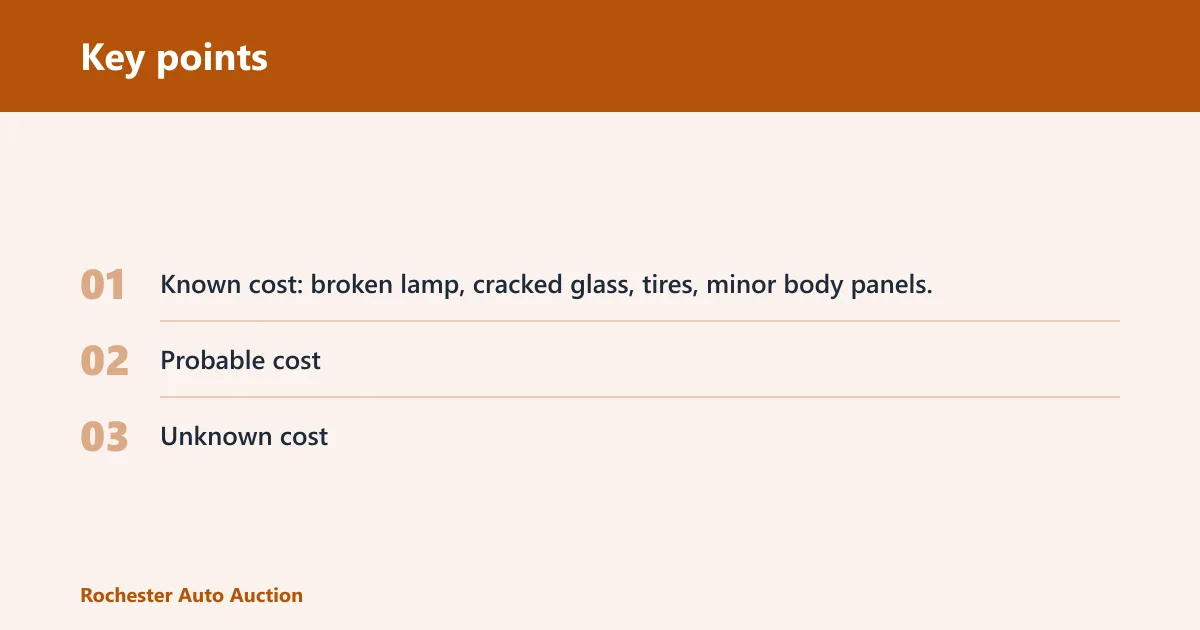
Build the buyer budget ceiling: hammer, fees, transport, repairs, buffer
The checklist says to budget for buyer fees, taxes, title fees, transport, and repairs. Add those before the first bid. Then add the 10 to 15 percent risk buffer already built into this workflow.
A simple formula works:
Bid ceiling = expected resale or keep-value minus buyer fees minus taxes/title minus transport minus visible repairs minus hidden-risk allowance minus buffer.
Say your target all-in number is $12,000 for a compact SUV. Buyer fees, taxes, and title total $1,400. Transport is $450. Visible repairs are $1,200. A yellow-level hidden-risk allowance is $600. A 10 percent buffer on the target is $1,200. The hammer-price ceiling becomes $7,150.
Price visible damage, hidden-risk damage, and unknowns differently
Visible damage can be estimated more tightly because the scope is easier to see. Hidden-risk damage needs more room. A bumper cover and one lamp are different from suspected rail repair, flood residue, or a run and drive car with harsh engagement.
Use three buckets:
- Known cost: broken lamp, cracked glass, tires, minor body panels.
- Probable cost: alignment, suspension component, battery, moderate leak, interior electronics issue.
- Unknown cost: frame movement, gearbox problem, flood-related corrosion, airbag-history conflict, incomplete report.
Unknown-cost items deserve either a steep discount or a no-bid. Treat vague notes as pricing risk, not as a free pass.
When a third-party inspection is worth the delay or cost
A third-party inspection is worth paying for when the car is expensive enough, complex enough, or uncertain enough that one extra confirmed fact could move the bid by far more than the inspection fee. That is especially true for high-value vehicles, branded-title vehicles, specialty cars, or any lot with structural or flood suspicion.
If the report looks incomplete, the history is thin, or the yard limits access, an outside inspection can be the only way to reduce uncertainty before bidding. If the auction timing does not allow it, the safer move is usually to lower the ceiling or pass.
Frequently asked questions
What should I check on a car before I bid at auction?
Check the paperwork first, then the VIN, title history, and status terms. In the yard, inspect panel gaps, paint mismatch, lights, glass, tires, wheels, flood clues, frame clues, warning lights, leaks, smoke, and noises. Finish by converting those findings into a hard hammer-price ceiling that includes fees, transport, repairs, and risk.
How do I inspect a used car at auction in a few minutes?
Use a fixed order and stop chasing small flaws. Verify the VIN, scan alignment and paint, inspect tires and wheels, check cabin warning lights and odor, then open the hood and do one underside flashlight pass. If a major structural, flood, or drivetrain red flag appears, stop and move on.
What are the biggest red flags during an auto auction inspection?
The biggest red flags are mileage doubt, title-history conflict, frame damage signs, flood evidence, airbag-repair history, multiple warning lights, severe leaks, smoke, rough idle, harsh gearbox behavior, and incomplete paperwork that does not fit what the car shows. Any one of those can justify a sharp discount or no-bid.
Can I test drive a car during auction inspection?
Usually, no full road test is available. Some auctions allow starting the car or moving it a short distance, but that only confirms basic start-and-move ability. It does not prove brake performance, highway alignment, full transmission behavior, or long-run cooling, so the bid still needs a risk allowance.
How do I check for flood damage before bidding?
Check hidden areas for silt, rust, moisture, corrosion, and electrical trouble. Look under mats, around seat mounts, inside the spare-tire well, at lower dash brackets, and near connectors and fuse areas. Musty odor matters, but hidden residue and corrosion are stronger evidence than smell alone.
What should I do if the auction report looks incomplete?
Lower confidence right away and treat the missing detail as added pricing risk. Compare the sheet, the report, the VIN history, and the car itself for consistency. If major areas remain unclear, either pay for a third-party inspection, cut the bid sharply, or pass instead of assuming the gaps are harmless.